
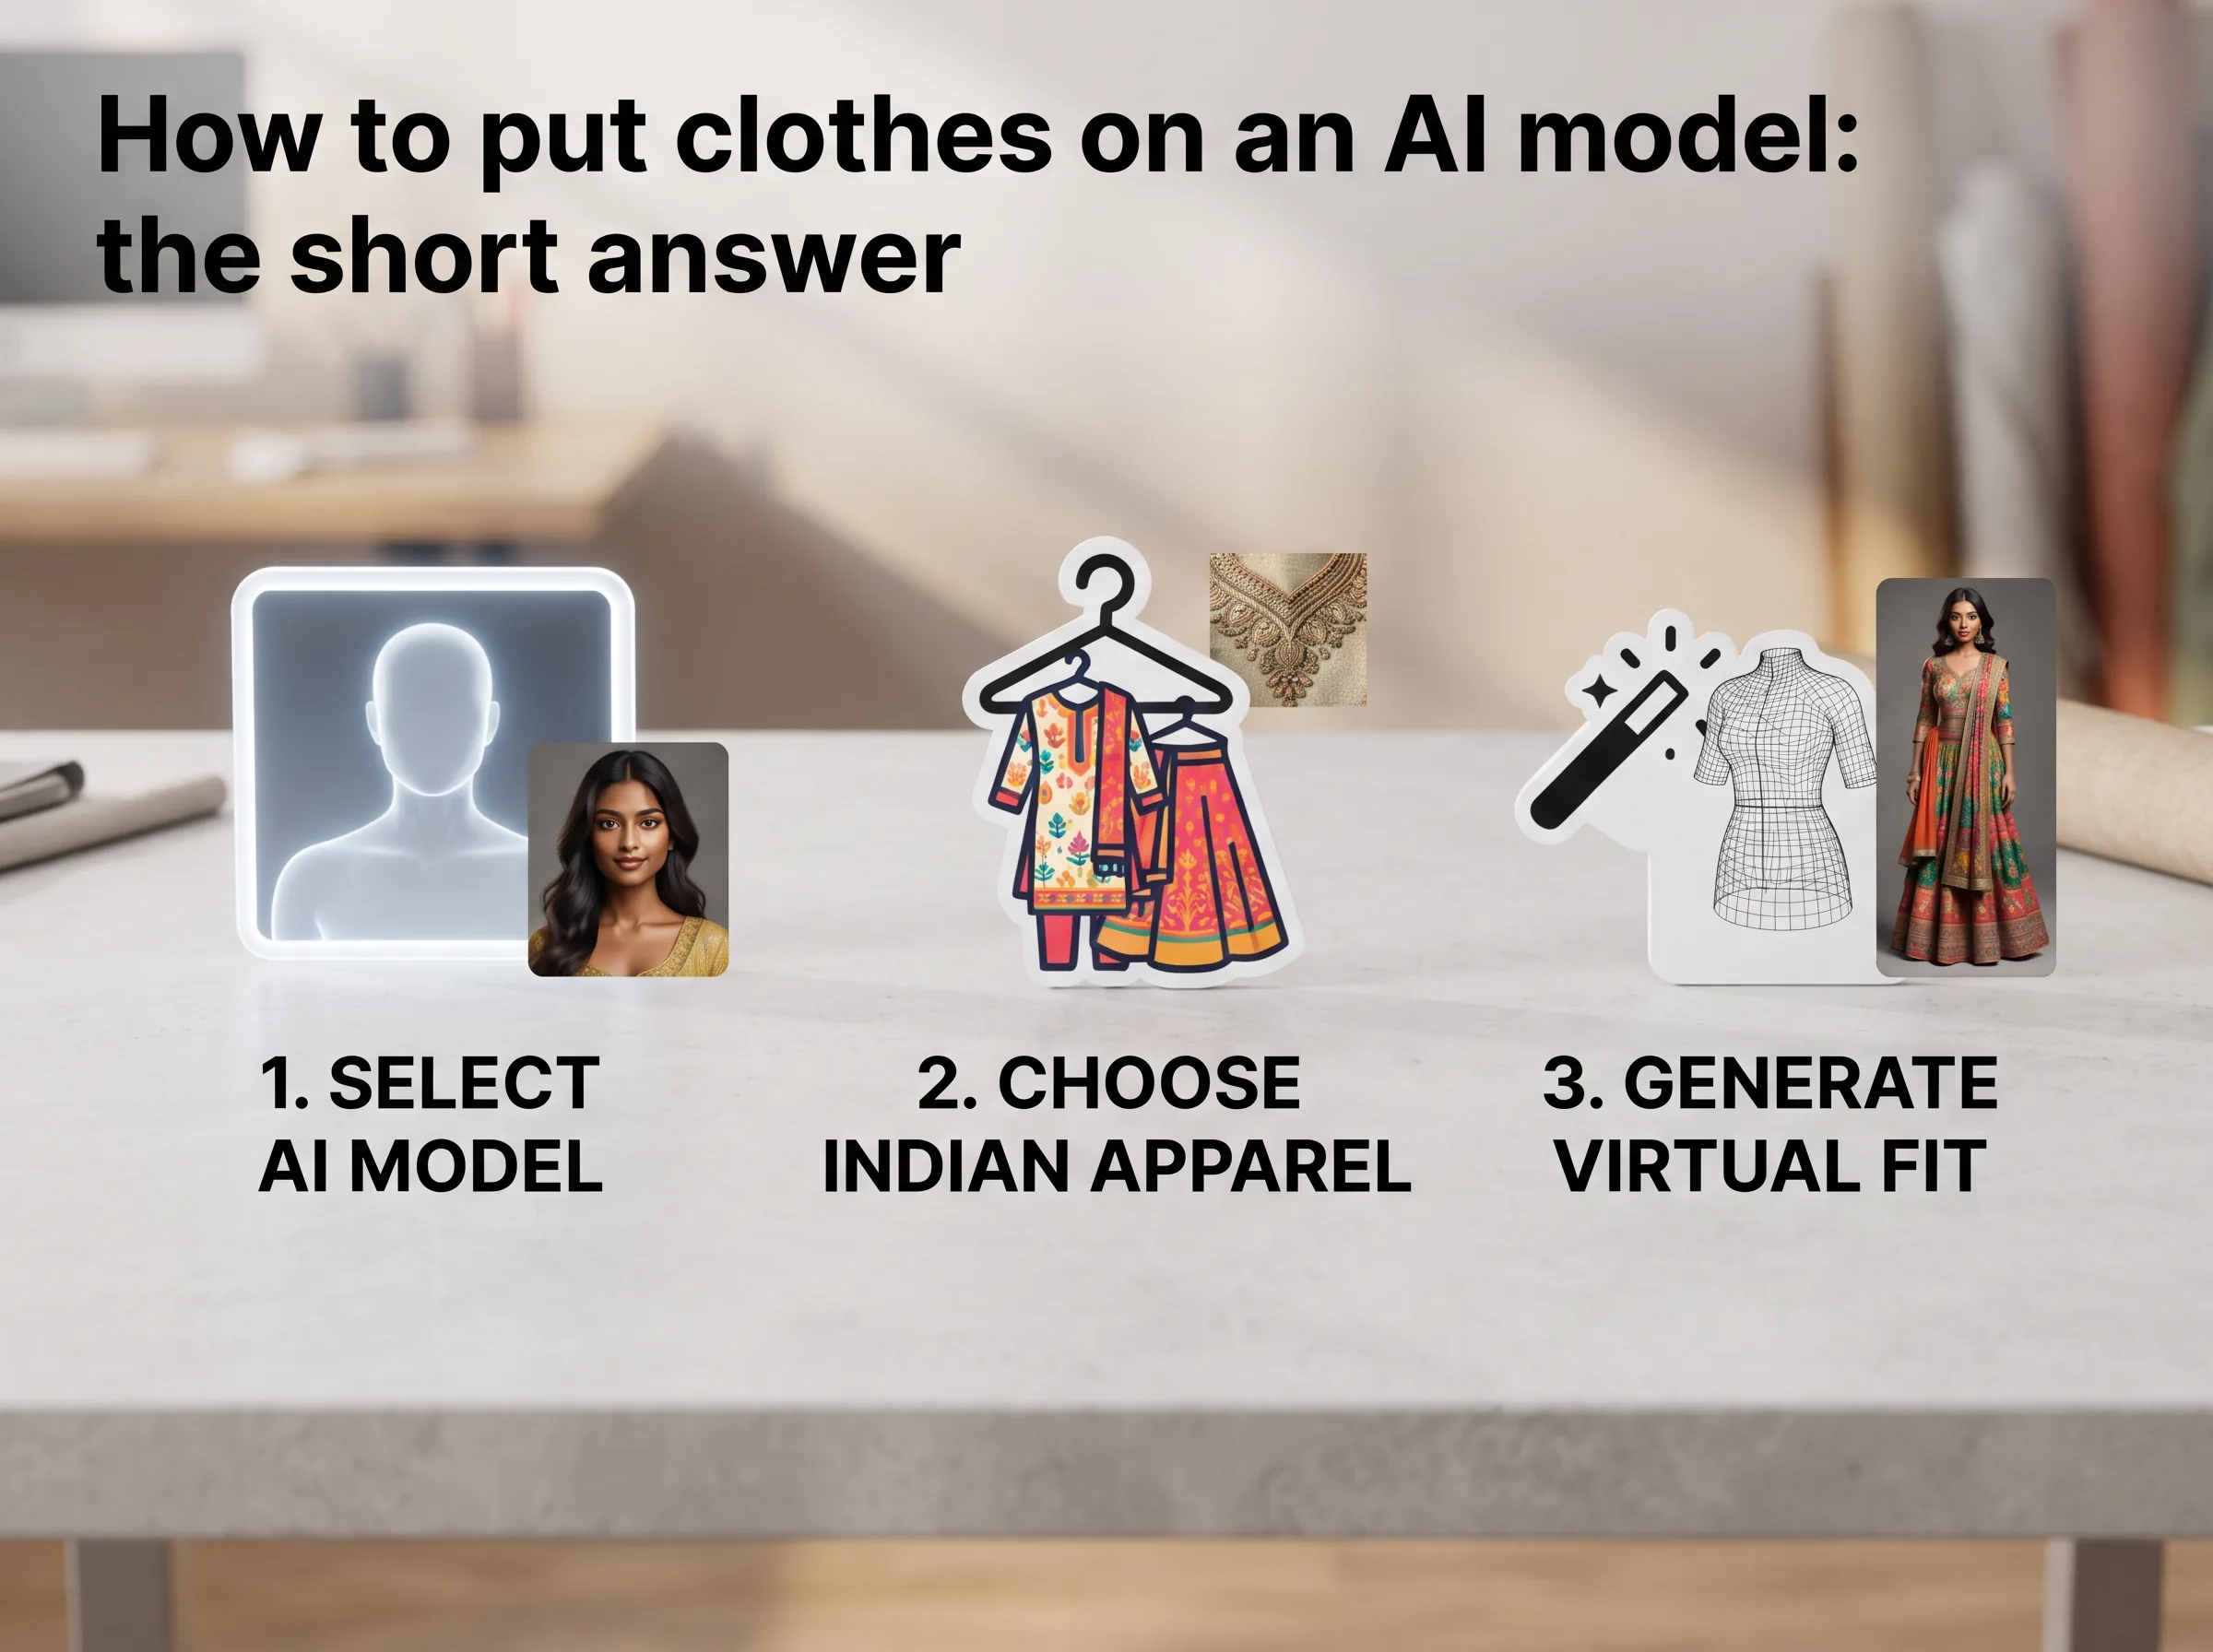
How to put clothes on ai model: the short answer
A small ethnic-wear label in Ahmedabad has eighteen new pieces ready for the festive drop. Every one of them needs a model shot before it can go on Instagram or a marketplace listing, and booking a model, a photographer, and a studio for eighteen SKUs in one week isn't realistic on a founder-run budget. So the founder starts typing the actual question into Google: how to put clothes on ai model, using the flat-lay photos already sitting in her phone.
The answer is shorter than it sounds. You don't need design software or a studio. You need one clean photo of the garment and a plain-language description of the model and setting you want. This guide walks through the exact steps, what makes a source photo work or fail, and what to expect from the result.
TL;DR: Putting clothes on an AI model takes five steps: upload a clean garment photo, select or generate your model, apply the garment, review and regenerate anything that looks off, then export for your listings. The whole process runs on one clean source photo and a short description, no studio booking required.
Key definition: Putting clothes on an AI model is the process of transferring a garment from a source photo onto a computer-generated model image, so a brand or seller gets a realistic, model-worn product photo without booking a live photoshoot.
Why sellers are asking this instead of booking a photoshoot
Here's the part most guides on this topic skip: a professional photoshoot doesn't automatically win. A DTC fashion brand on Reddit described spending $12,347 on a full professional shoot, models and studio and all, for one 40-piece collection. They A/B tested it against their old setup, clothes hung on hangers against a plain wall, shot on an iPhone. The scrappy iPhone shots converted at 3.2%. The polished professional shots converted at 2.7%, a 15% drop. Their own read on why: the professional shots looked too much like ads, so people's brains skipped past them, the models looked too perfect to relate to, and the studio lighting flattened the fabric's real texture and color, which drove more returns.
Key insight: A heavily polished, ad-like product photo can convert worse than a plain, honest one. That's why a well-made AI model shot, which looks real rather than art-directed, often lands closer to what actually sells than an expensive studio shoot does.
That reframes the whole question. It's not "can AI match a real photoshoot." It's that a clean, honest-looking photo already beats an overly polished one, and a well-made AI model shot lands closer to that honest end than a heavily art-directed studio shoot does. You're not chasing perfection here. You're chasing a photo that looks like the garment, worn by someone, in decent light.
What you need before you put clothes on an AI model
Three things go into this, and only one of them takes real effort.
A clean photo of the garment. Lay it flat on a plain surface or hang it against a plain wall, in daylight or bright even light. No wrinkles bunched into shadow, no busy background, no part of the garment cropped out of frame. This photo is the source of truth for color, print, and cut, everything downstream is built from what's in it.
A short description of the model and setting. Age range, build, pose, and where the shot is set, studio background or an outdoor look. You don't need exact technical language. "A woman in her late twenties, standing at a slight angle, studio background" is enough to work with.
Brand style context, if you have it. Not required, but useful if you're generating shots across a whole product line and want a consistent look rather than each image feeling like a different shoot.
Compare that to what a traditional shoot needs before anyone presses a shutter: a booked model, a studio or location, someone to steam and style the garment on the day, and a photographer whose schedule may not match yours [needs source: India model/studio day-rate benchmark]. The AI route collapses all of that into a photo you can shoot on your phone this afternoon.
| Factor | Traditional model photoshoot | Putting clothes on an AI model |
|---|---|---|
| What you need to start | Booked model, studio, photographer, stylist | One clean garment photo + a short description |
| Turnaround | Days to weeks per collection | Minutes per image |
| Cost pattern | Fixed cost repeated every shoot | One tool, reused across every SKU |
| New colorway or design | New booking, new shoot day | Regenerate from the same source photo |
| Best for | Hero campaign imagery, brand emotion | Routine catalogue and listing photos at volume |
How to put clothes on ai model, step by step
This genuinely is a multi-step process, not a single click, and understanding the steps helps you troubleshoot when a result doesn't come out right. Fashion sellers online already stitch this together manually across several separate tools, one for generating a model image, another for placing the garment on it, a third for adding motion. Scalio runs the whole chain as one product, so we'll use it as the concrete example, but the steps themselves apply to any ai model photoshoot workflow.
Step 1: Upload a clean photo of your garment
Start with your flat-lay or hanger shot. Most tools built for this, Scalio included, accept a single photo as the starting point. This is the input that decides color, print, and cut, so a sharp, evenly lit shot matters more than any setting you'll adjust later.
Step 2: Select or generate your AI model
This is where a clothes changer ai tool asks who's wearing the outfit. Pick a model that fits your customer, and stay consistent across a batch of SKUs if you're building a catalogue, a buyer comparing several products in a marketplace grid notices when the model changes between near-identical listings.
Step 3: Apply the garment to the model
The tool places your garment onto the generated model and builds the rest of the scene around it, pose, background, lighting. This is the actual change clothes ai moment, everything before it was prep. Describe the scene the way you'd brief a photographer rather than the way you'd search Google, "standing at a slight angle, one hand relaxed, outdoor courtyard, natural light" gives the tool more to work with than "nice photo of girl in kurti."
Step 4: Review and regenerate what's off
Expect the first result to be close but not always final. Check the parts a buyer's eye goes to first, does the neckline sit right, does the print repeat correctly, do the sleeves follow the arm naturally. If a hand looks stiff or a hemline sits wrong, regenerate rather than trying to fix it manually, sometimes with a small tweak to your description. Two or three passes before a shot is listing-ready is normal, not a sign something's broken.
Step 5: Export for your listings or feed
Export at the highest resolution the tool offers and crop down from there. Meesho, Myntra, and Amazon.in each set their own image size and background rules, Amazon Seller Central's product image guidelines require a pure white background for the main listing image, for instance, so a shot built loosely often needs rework before it clears one platform's QC even if it passed another's. If you're running the same garment across colorways, you usually don't need to redo the whole process, many tools let you carry the same model and pose forward and just swap the garment color.
Getting realistic results instead of an AI-generated look
The gap between a result that looks shot and one that looks machine-made almost always comes down to two things: your input photo and how specific your description was.
Start with a sharp, evenly lit garment photo. Shadows and color casts carry straight into the output, a yellow-tinted source photo produces a yellow-tinted result. Get the whole garment in frame, a cropped sleeve or cut-off hemline forces the tool to invent the missing part, which is where results go wrong most often. Match the model's build to the garment's weight, a flowy anarkali and a fitted co-ord drape differently on different body types, and describing this avoids a mismatch that reads as off even when nothing is technically broken.
Be specific about pose, not just appearance. "Standing, three-quarter angle, one hand on hip" gets you a usable listing photo. "Pretty girl in outfit" gets you a coin flip. And check hands, seams, and where fabric meets skin before you ship anything, these are the classic tells in any AI-generated image, and it's exactly the kind of over-polished, slightly-off image that underperformed in that Reddit seller's A/B test. Realistic beats polished, every time this has been tested.
What this replaces, and what it doesn't
Direct answer: Putting clothes on an AI model replaces the need to book a live model and studio for routine catalogue and listing photos. It does not replace a full retouching studio or hero campaign imagery that needs a human art director's judgment.
For a D2C fashion brand on Instagram posting a new drop every few weeks, this means a consistent model across a whole collection without booking a shoot each time. For a manufacturer in Surat or Jaipur adding new SKUs weekly to Meesho, Amazon, and Flipkart, it means a model-worn shot for every listing instead of choosing between a flat-lay and a studio day you can't justify for that volume. Both are the job this is actually built for, consistent, fast, good-enough-to-convert shots for every SKU, not a replacement for a big campaign shoot with a stylist and a real photographer in the room.
Try it on your own garment photo
The whole process fits into one sitting: a clean garment photo, a short description of the model and setting, and one or two regenerations to get the details right. That's the entire distance between a flat-lay sitting in your camera roll and a shot that actually gets clicked.
Scalio turns a product photo and a bit of brand context into model-wearing photos and Reels in minutes, replacing the shoot, the studio, and the agency retainer, from ₹999/month (100 credits) instead of a ₹10,000+ agency. Start free at scalio.app and see your first result before you commit to anything.
If you sell on Meesho or another Indian marketplace, our Meesho seller photography guide covers platform-specific listing rules in more depth, and if sarees are part of your catalogue, our saree product photography guide walks through the angle shots buyers look for before they buy. For the bigger picture on where AI fashion models fit into ecommerce photography, see how AI fashion models are changing ecommerce photography.
Frequently Asked Questions
Can I use a photo of myself or someone wearing the garment instead of a flat-lay?
Yes, some tools accept a photo of a person wearing the garment and transfer that outfit onto a different AI-generated model. A clean flat-lay or hanger shot tends to give sharper results for print and cut since nothing is obscured by pose or shadow, but a well-lit worn photo works too if the garment is fully visible.
How long does it take to put clothes on an AI model?
Once your garment photo is ready, generating a single image typically takes a few minutes, not days. Most of the time in the whole process goes into prepping a clean source photo rather than the generation step itself. For a batch of SKUs, budget an afternoon rather than a full day per garment.
Will the AI model actually look real, or fake?
It depends almost entirely on your input photo and how specific your description is. A sharp, evenly lit garment shot with a clear model and pose description holds up on a listing. Realism matters more than polish here, since overly polished, ad-like photos can convert worse than scrappy, honest ones. Check hands and seams before exporting.
Do I need separate photos for every garment color?
No. Once you've generated a model and pose you like for one colorway, many tools let you swap in the same garment in a different color while keeping the same model, pose, and background, instead of starting the whole process over for every color variant you stock.
Is putting clothes on an AI model the same as a virtual try-on?
No. A virtual try-on lets a shopper see how a garment might look on themselves, a buyer-facing feature on a storefront. Putting clothes on an AI model is a seller-side process for producing the catalogue and listing photos you sell with in the first place. Different job, different user.